Kamishibaï workshops
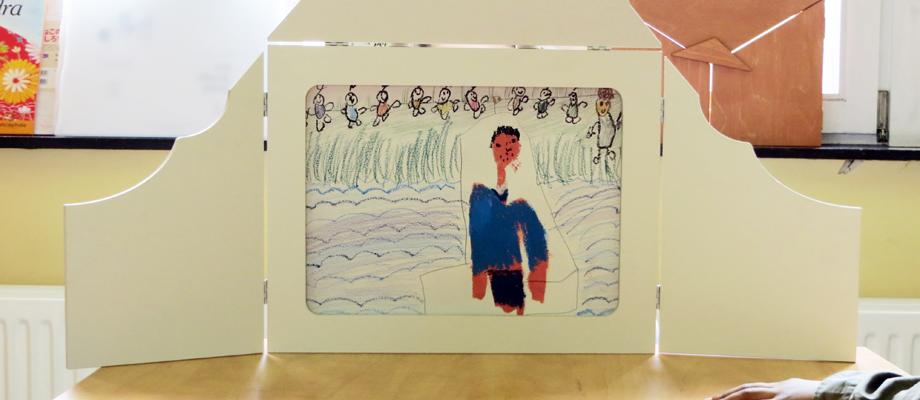
To explain and demonstrate the technique of Kamishibaï. With the help of "butaï" (wooden theatre), presenting a few of the stories helps children understand what "kamishibaï" is. From the Japanese, kami : paper, and shibaï : theatre play.
A short history put in context sets this original way of telling stories in time and place. Features such as staging, use of sound effects, moving panels to the different rhythms will be highlighted. The objective of this first session is to arouse curiosity and inform about the challenge of these workshops, which is an A to Z of making a kamishibaÏ.
Creating a story in groups of two children, students choose a story that has been suggested to them in the library. They adapt the theme and the characters as they wish. Then, they create dialogues, which are very important in the kamishibaÏ, in order to make the most vivid possible oral presentation. Descriptions are minimal, since it is in the picture that the environment of the characters is shown. On the other hand, songs, sound effects or music can be incorporated into the text.
Creation of pictures in draft. This part is equivalent to the storyboard. Children draw pictures that correspond to the outline of their story. These are grey pencil drawings, drafts used to put their ideas on paper. The concepts of broad plans, general layout, fade in-fade out will be discussed with finished stories for visual support. The aim is to infuse rhythm and a little surprise on the stage, to hold the viewer spellbound.
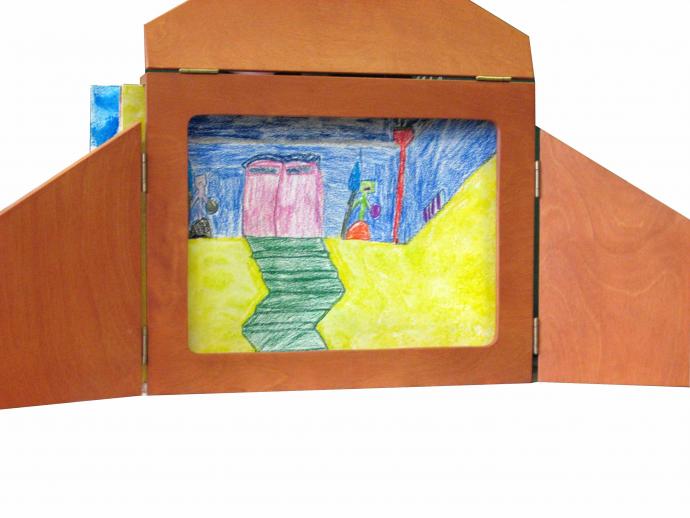
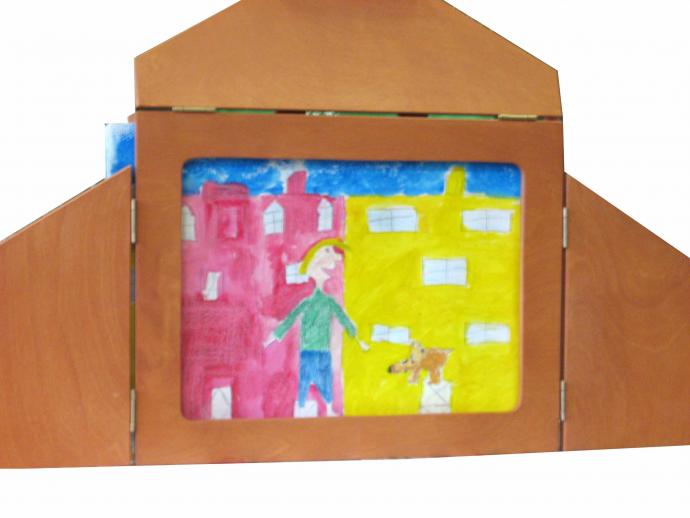
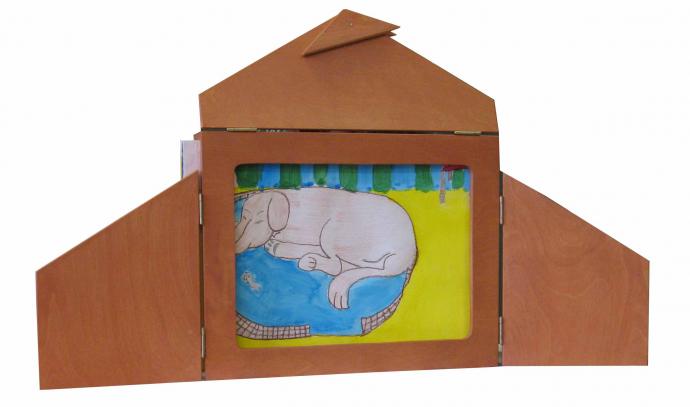
Achieving the final pictures. In this session, several graphics techniques will be presented. For backgrounds, sponge prints can be used. For main stages, children use colouring pencils or fine oil pastels for drawing. The idea is that the characters and the actions are highlighted and visible from a distance by the viewer.


